Tool Changes
Once the stock has been secured in the vice, the next step is to make sure you have all the tools needed. Make sure to read this whole section prior to beginning tool changes as there are important notes throughout.
To begin preparing the tools for the CNC:
Look at your setup sheet. Under ‘Tools’, there will be a list of tools. Under each tool, you will need to focus on the following sections:
The slot allocated for the tool (ie. T1) - This is the slot that this specific tool HAS to be in. You may have to change the tool (see below).
The type of tool (ie. flat end mill) - This is the type of tool.
Tool diameter (ie. 3.4 mm) - This is the diameter of the tool and is useful when looking for the specific tool size (especially for drills)
The tool description (ie. ¼” Flat Endmill) - This includes the full tool description (size, type, etc.)
Begin with your first tool (ie. T1). To bring this tool to the spindle, close the door, click MDI (manual input data) > T1 > ATC fwd (Automatic tool changer forward).
Once the selected tool number is in the spindle, check to see what the tool is. The tool may be the correct one already. However, this is rarely the case. If the correct tool is already in the slot, move on to the next tool (repeat steps 2 & 3 for each specific tool listed on the setup sheet).
If the correct tool is not in the slot:
Remove the current tool from the spindle. To do this:
Place one hand on the tool (Hold the black part. MAKE SURE YOUR FINGER IS NOT UNDER THE TOOL. The tool is heavy and will drop so you do not want your hand to get squat or cut.)
Press the tool release button.
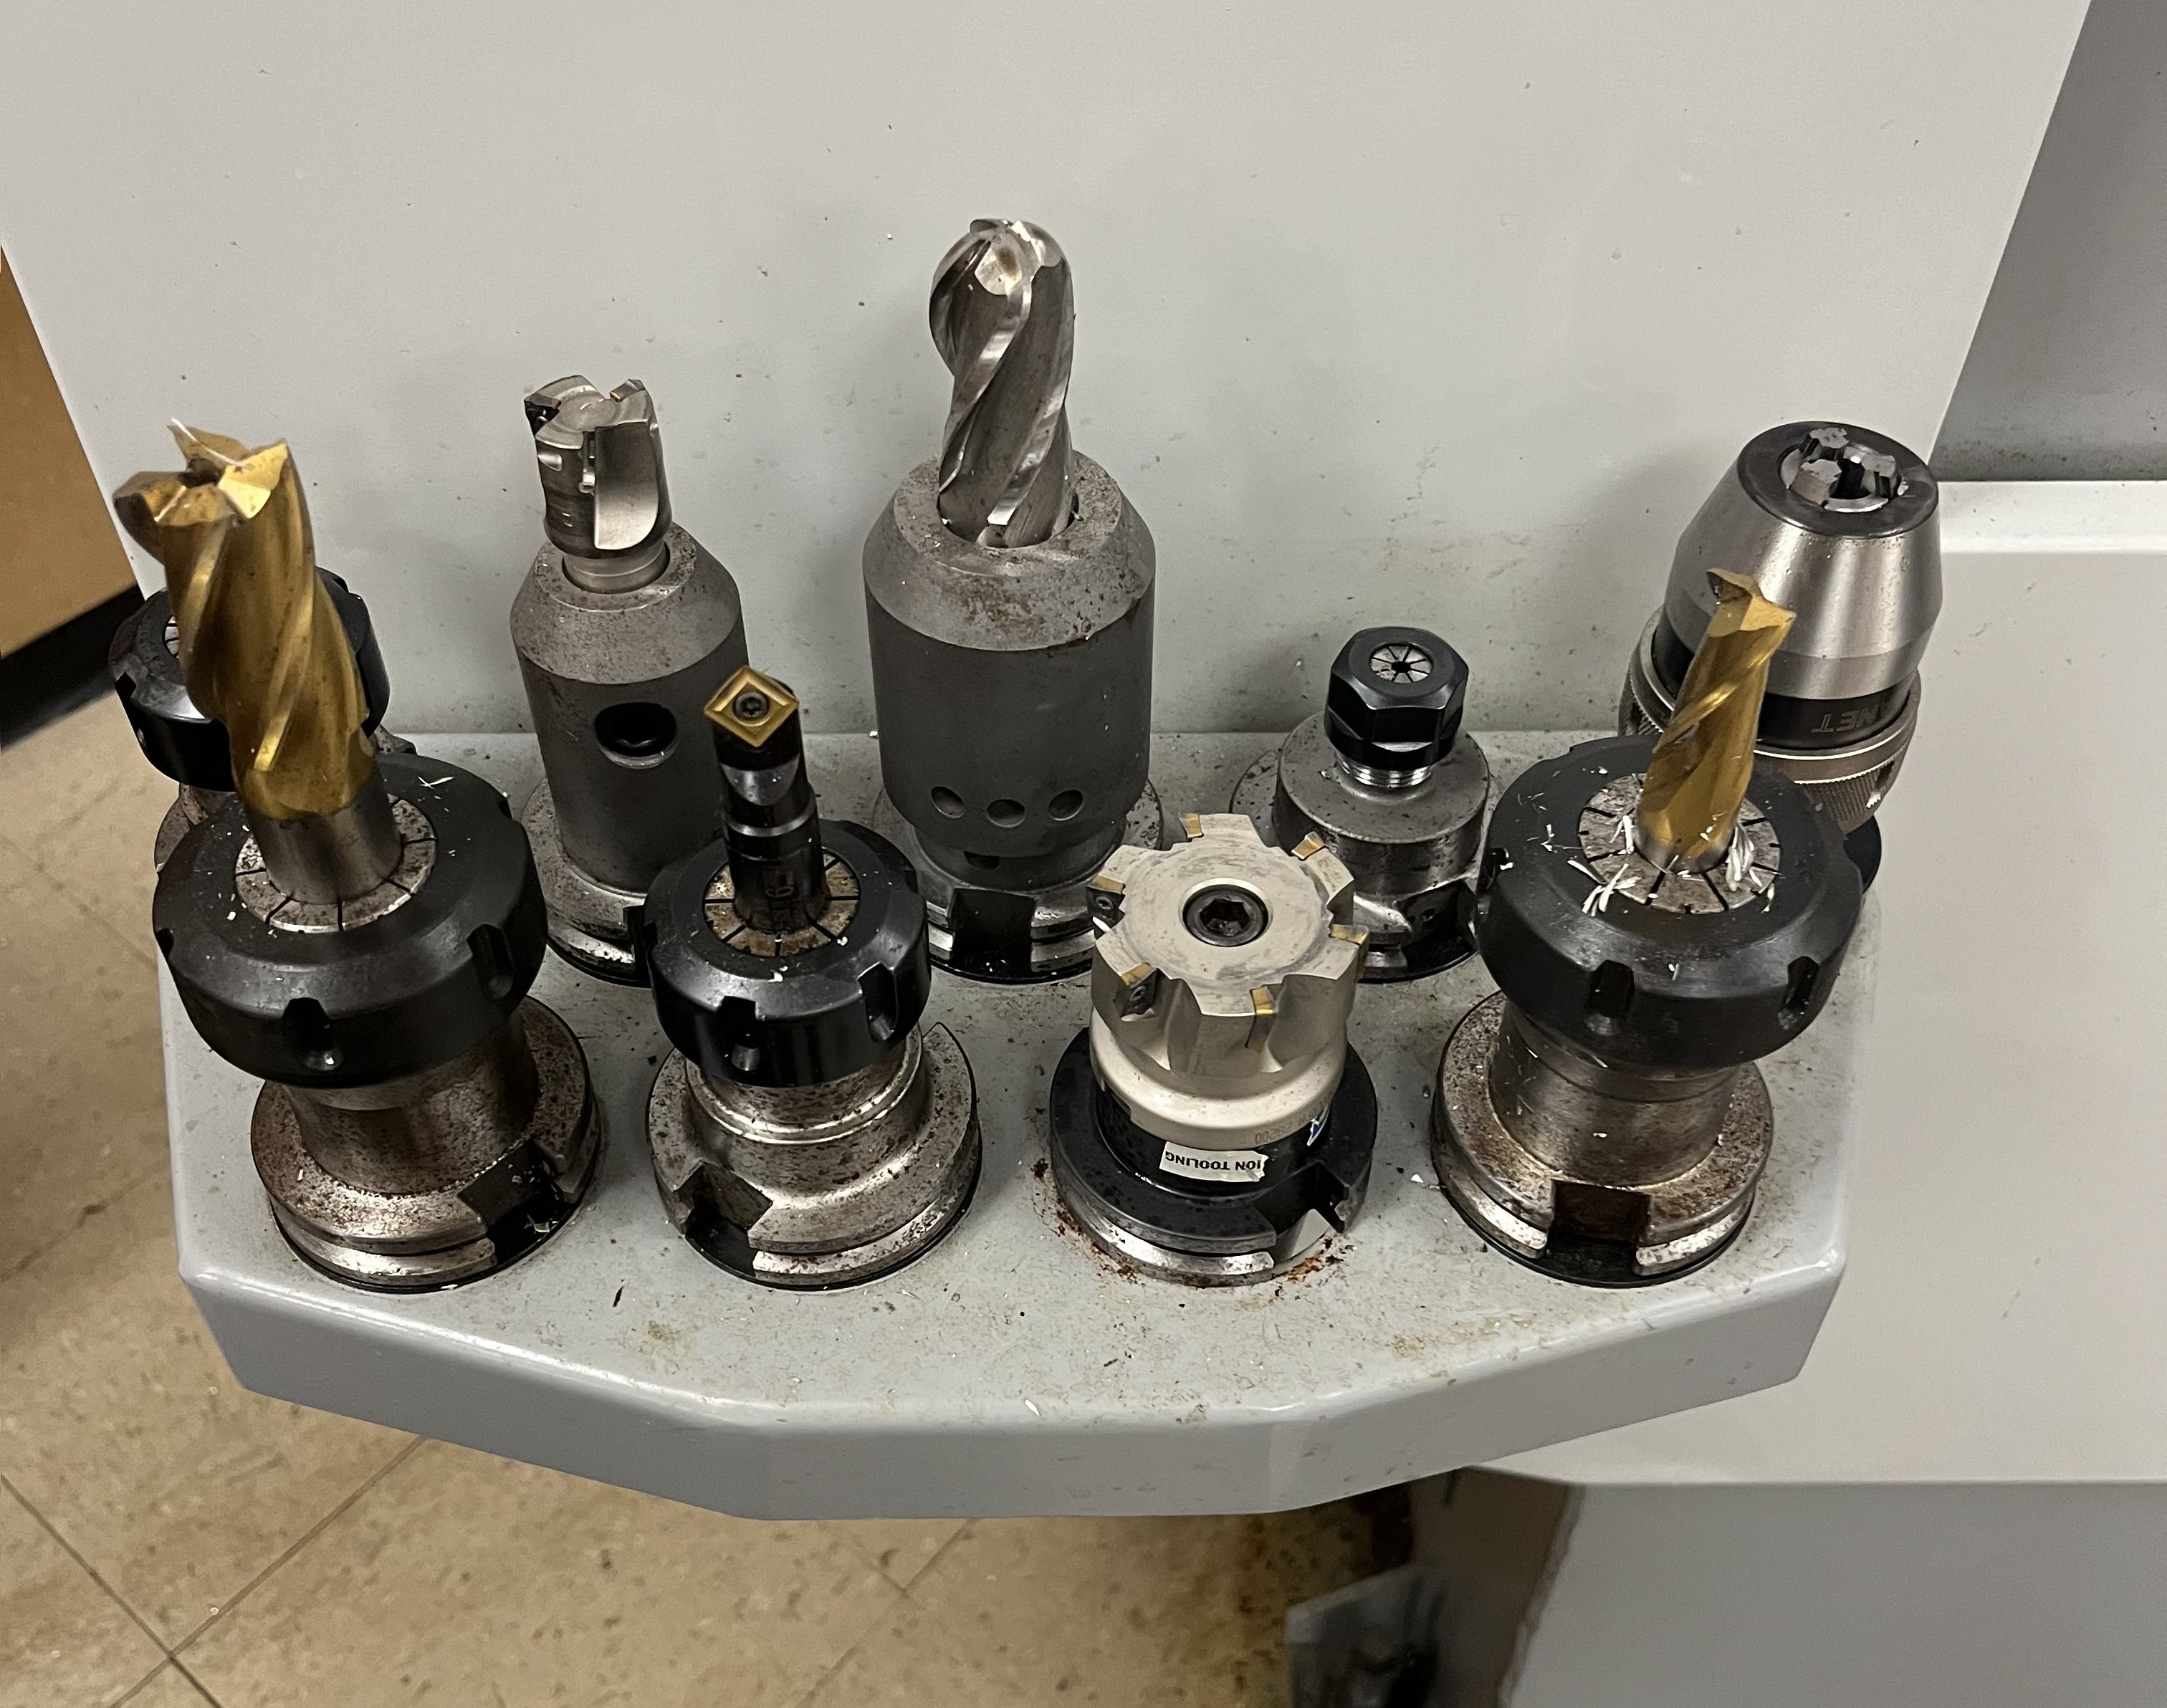
Once you have removed the current tool, find the correct tool. First, check to see if the tool you’re looking for is already in a tool holder at the front of the mill (as pictured) or in the tool changer.
If the correct tool is in front of the mill skip to step 6.

If it’s in the changer follow steps 2, 3, 4 and then 6.
If the correct tool is not there:
Find the correct tool bit and an empty tool holder.
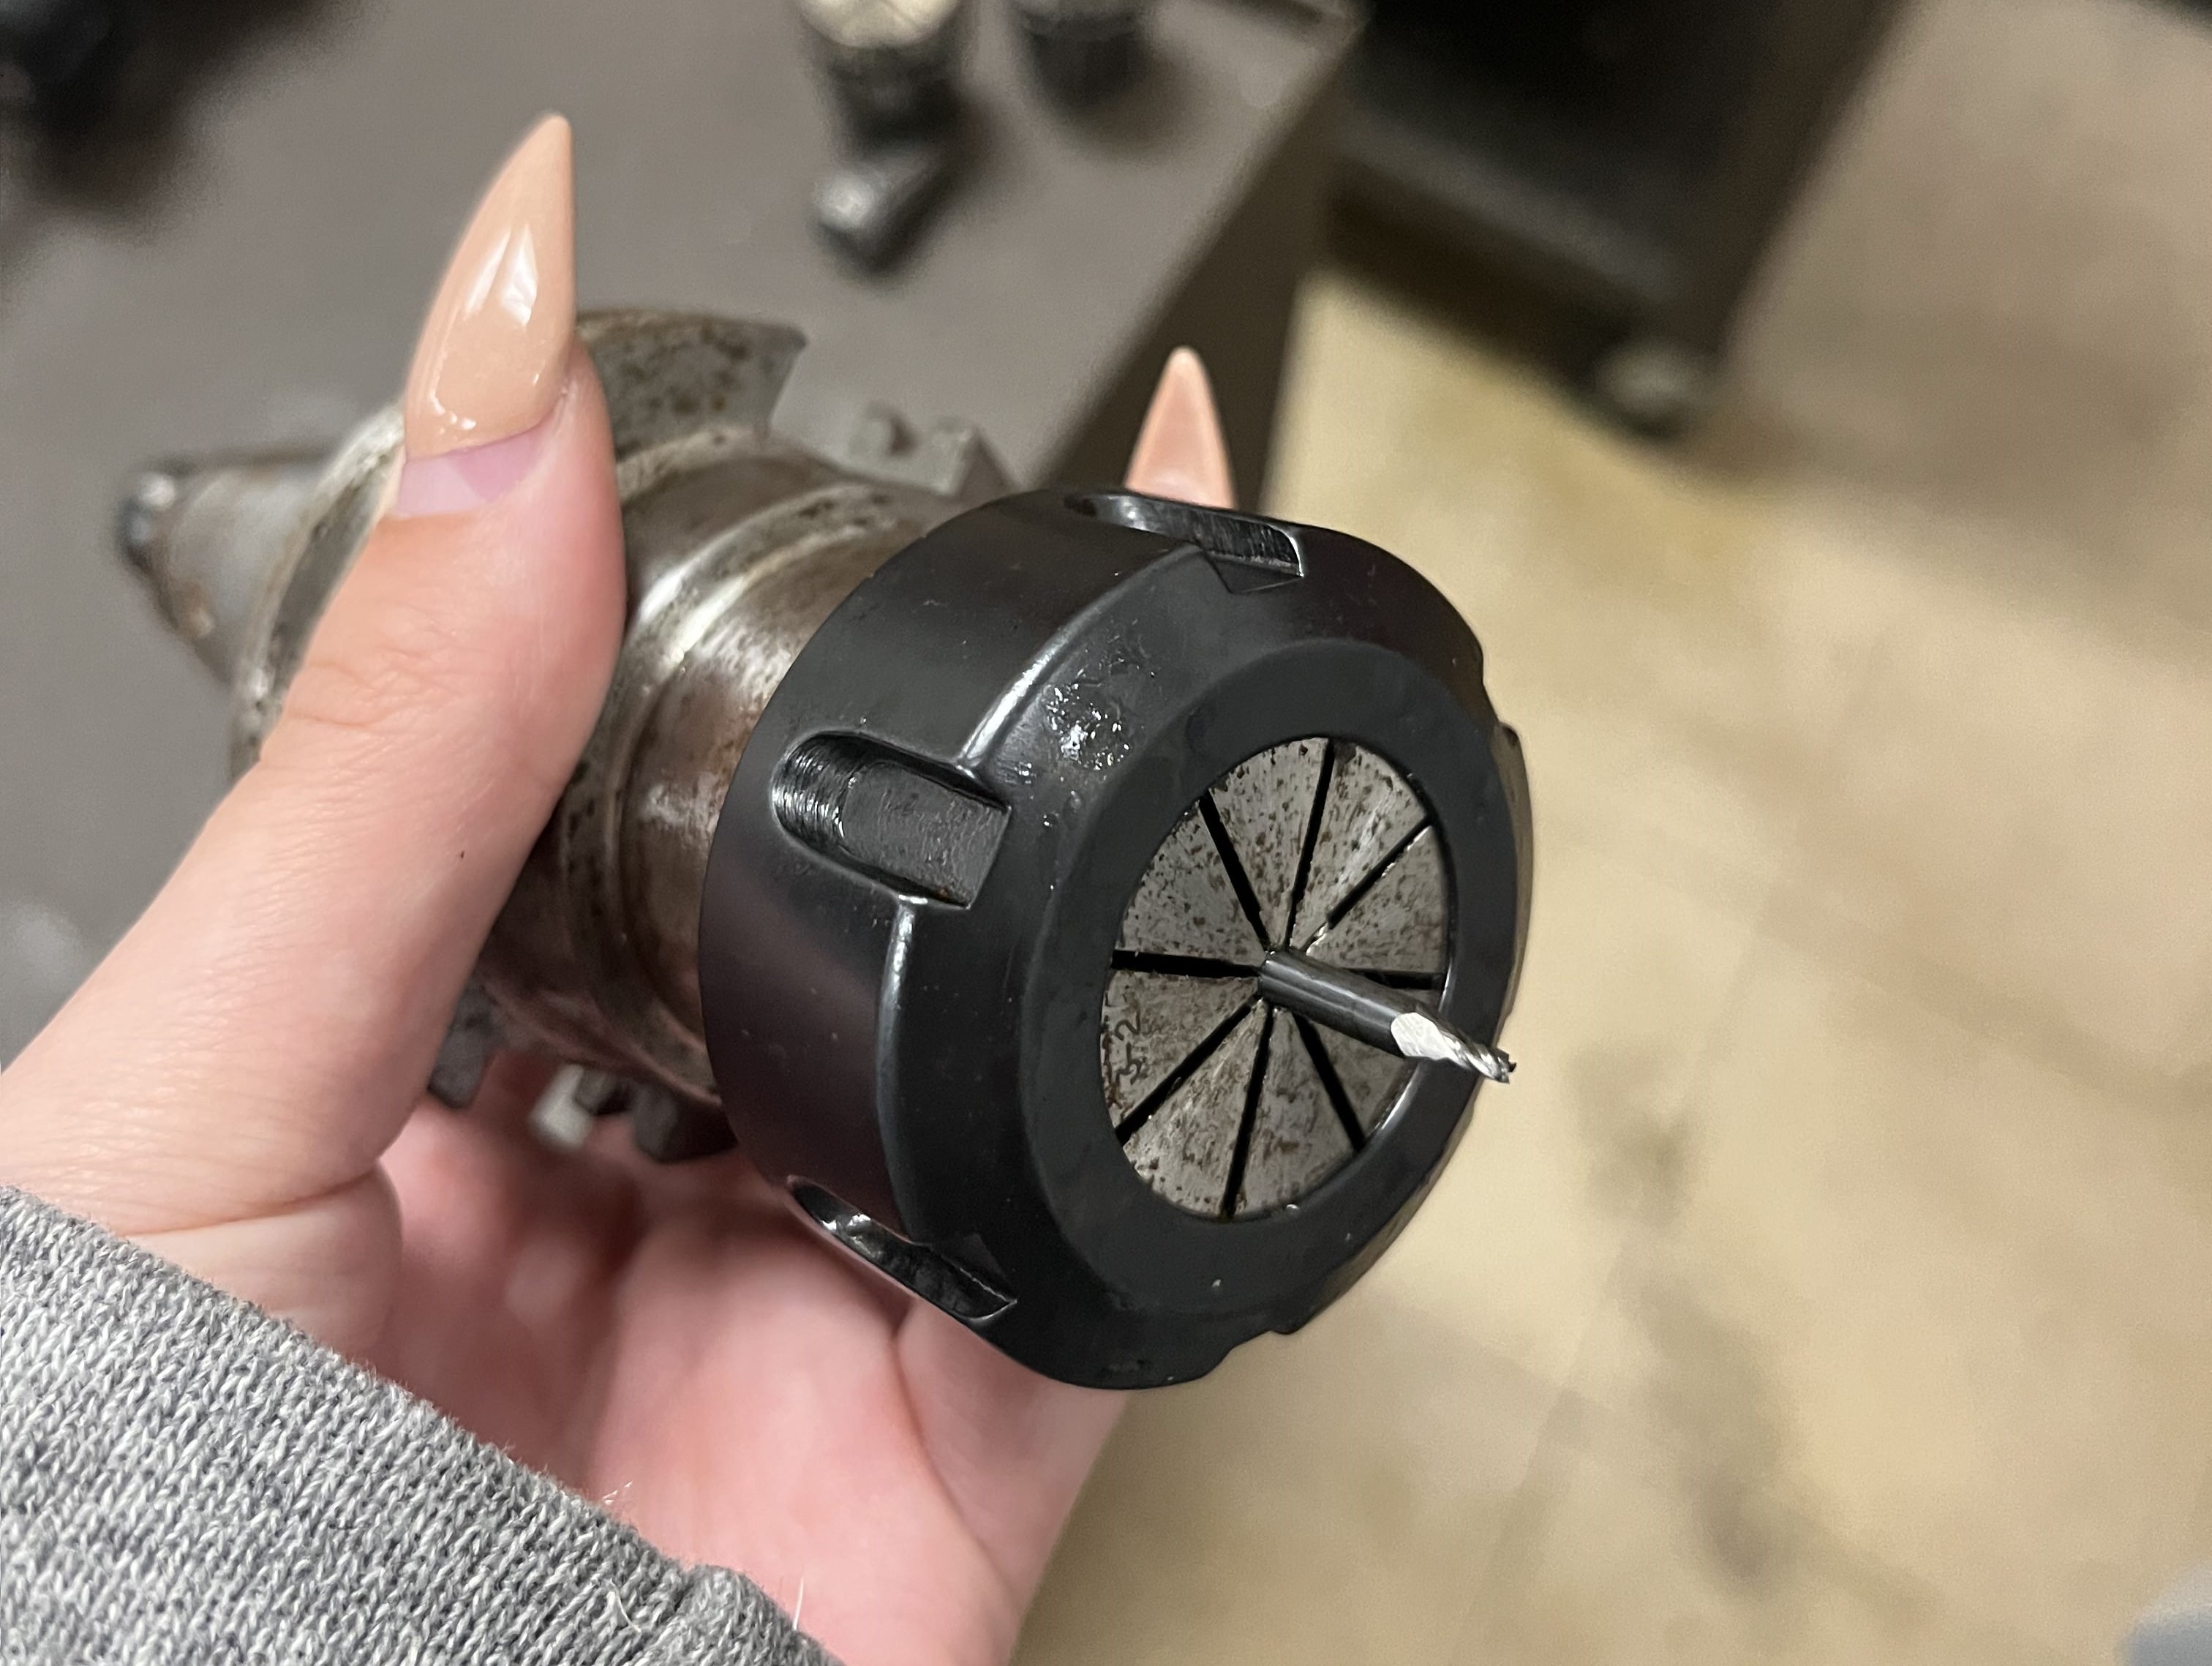
Head to the back of the CNC Machine and find an appropriate tool holder. The tool holder will vary depending on the type of tool you’re using, for example, end mills go in collets (as seen below) and drills go in a drill chuck!
Once you have the appropriate tool holder, tool bit, and tool holder, begin by assembling and hand tightening.
Note: If using a tool bit that requires a collet, make sure to put the collet in the black piece of the holder first and then screw it on. If not, it will get jammed in the holder.
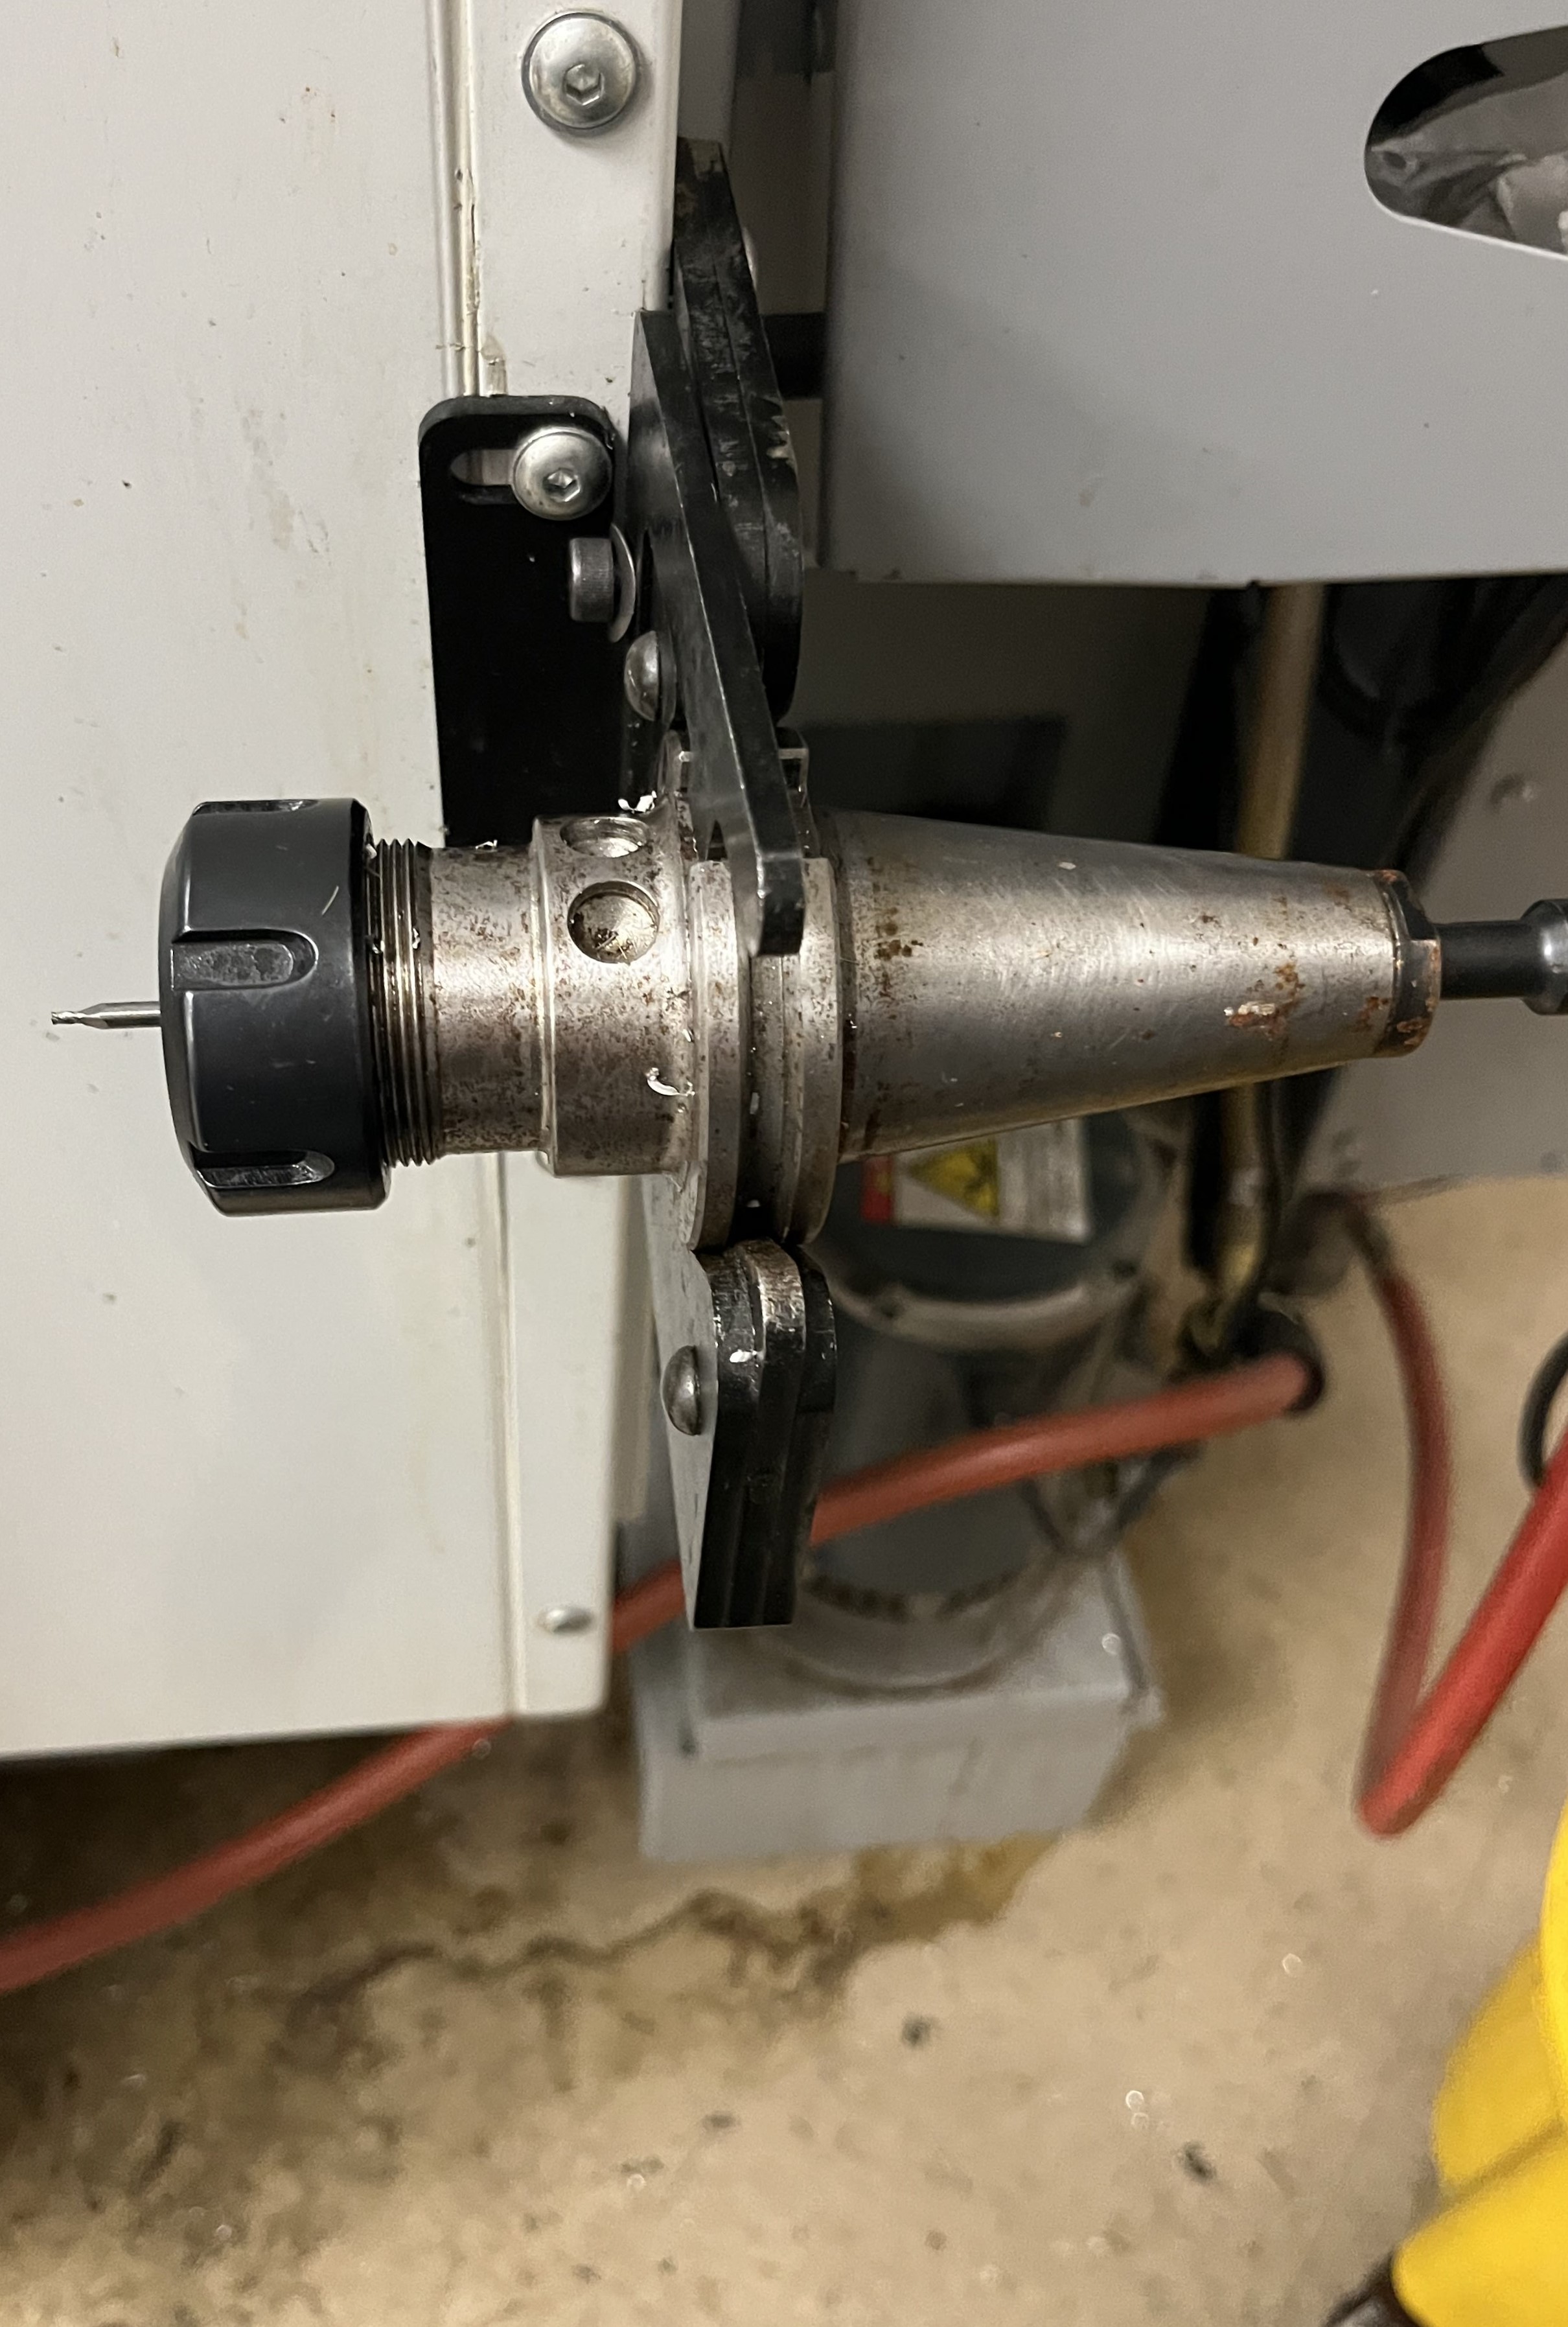
After you’ve hand tightened, bring the tool to the back/side of the machine and place it in the tightener. Using the red-handled wrench, hook into the notches on the black piece and tighten. To losen, flip the tool around and do the same.


For more information, see Tool Holders and More
NOTE: You may need to take apart another tool in order to get the correct holder, collet, bit, etc.
To insert the tool into the CNC spindle:
Hold the tool by the black part but this time, don’t let your hands go too high - make sure they aren’t wrapped around or near the registration notches. There is a lot of force behind the spindle and you do not want your fingers to get caught.
Line up the two registration notches on the tool holder with the two flushes on the spindle.
Press the tool release button.
Once the correct tool is in the correct slot, repeat step 2 onward with every required tool until finished.
IMPORTANT NOTES: If the top of a tool holder has some rust, make sure to clean it with the scrub cloth (found on the middle work bench).